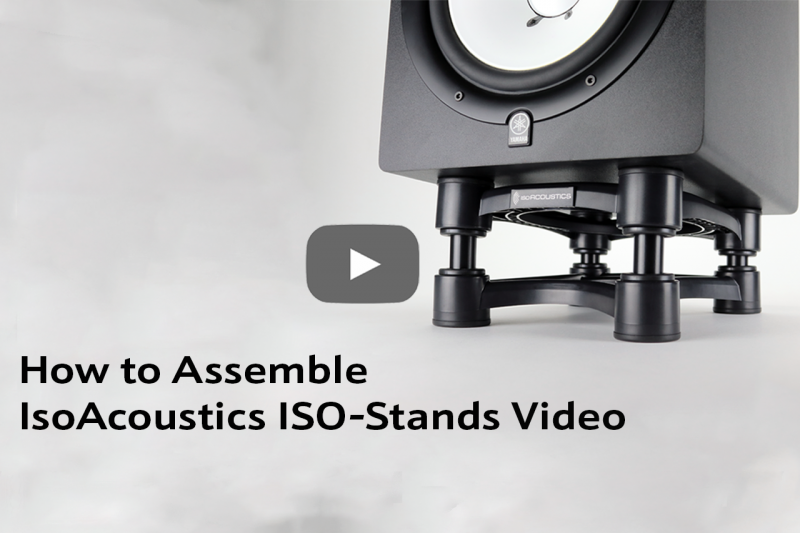
A new video on how to assemble IsoAcoustics Iso-Stands for speakers and Studio monitor is now on the IsoAcoustics YouTube channel!

Video Description
In this video, Paul Morrison of IsoAcoustics will be detailing the set-up process of the ISO-Stand and providing a few tips and tricks to make your installation experience simpler.
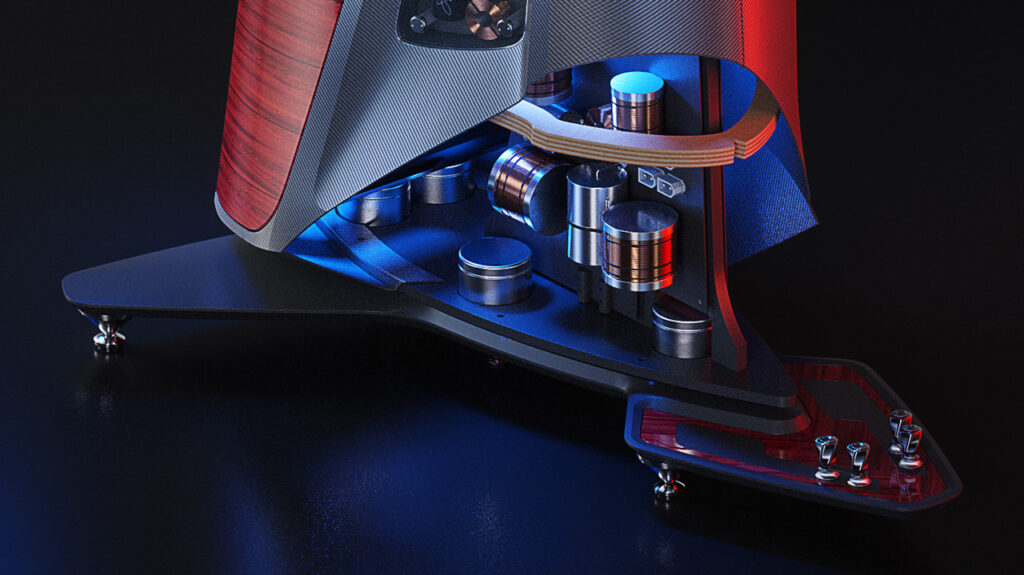
The new ISO Stands provide superior acoustic isolation and enhance the sound clarity of any speakers including studio monitors, home theatre systems and sound reinforcement.
With a lower profile and new contemporary design, the ISO Stands positions your studio closer to the supporting surface or meter bridge, and the new redesigned isolators move the acoustic performance another step forward.
To learn more about the ISO Stand Series click here
Try the IsoAcoustics Online calculator to find the right IsoAcoustics products for your setup
Video Transcript
Congratulations on your purchase of the award-winning ISO-Stands from IsoAcoustics. The ISO-Stands are one of the best investments you’re going to make in getting authentic and accurate sound. The ISO-Stands feature IsoAcousticspatented isolation technology that provides a high degree of isolation and manages the speaker’s energy to deliver greater clarity and detail. The ISO-Stands also feature height and tilt adjustment to optimize the placement of your monitors and focus your tweeters to ear level
Hi, my name is Paul Morrison and today I’ll be taking a moment to share some tips on how to set up your speaker stands with minimum effort and maximum ease.
The ISO-Stands series consists of 5 models. The ISO-130, ISO-155, ISO-200, ISO-430 and ISO-200Sub.
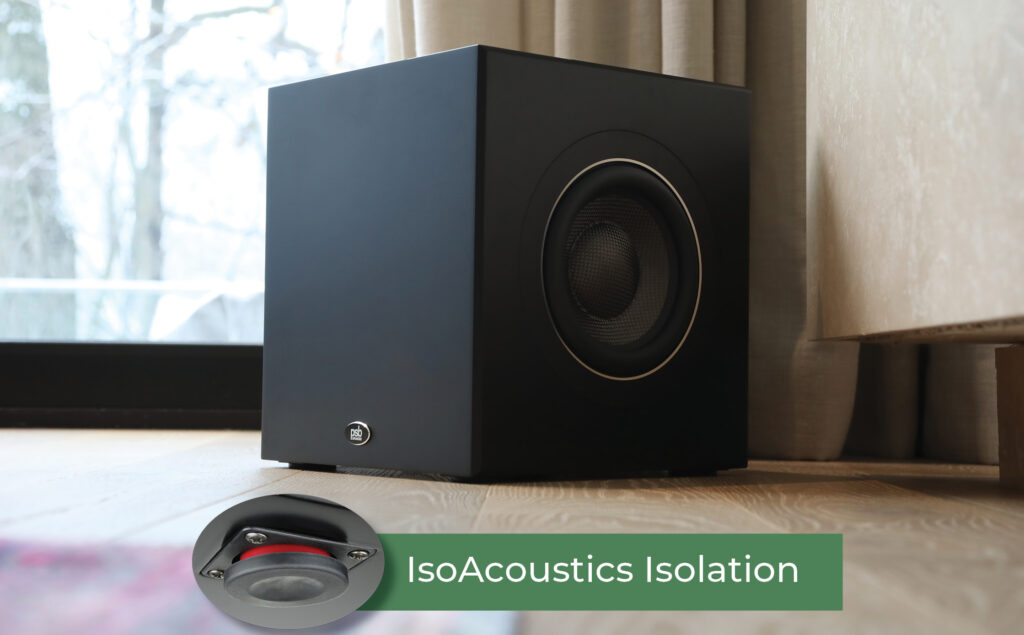
In this video, we will be assembling the ISO-155 which comes as a pair of stands for 2 speakers and each ISO-155 stand offers height and tilt adjustment. All of the other ISO-Stand models are the same, except the ISO-430 which does not have height adjustment and is sold as a single unit, and the ISO-200Sub is designed for subwoofers, so it comes as a single unit and does not have the height or tilt adjustment.
The ISO-155 stand we are assembling in this video offers 14 settings in height and tilt adjustment. This will help you optimize the placement of your monitors and bring your tweeters to ear level. Before we get into how to assemble the stands, let’s first talk about how best to position your monitors to get the best sound possible. Here are some tips for setting up your speakers:
Equilateral triangle
- Position your speakers so that they form an equilateral triangle with your listening position. Angle or “Toe-in” each speaker so that the tweeters from an equilateral triangle with your head.
Focus the tweeters to the ear level.
- High frequencies are much more directional than low frequencies, so you will get the best results with the tweeters at ear level.
Avoid First Reflections from supporting surface
- The next tip is to avoid first reflections off the supporting surface. If for example, your speaker is sitting directly on the desk, sound waves will reflect off the desk and reach your ears. First reflections are the next sound you hear after the direct sound from the monitors or speakers and they are most disruptive
Position your speakers away from walls and corners
- Keep your speakers away from walls to minimize sound reflections and avoid positioning your speakers in the corner of a room to prevent bass buildup.
Room Arrangement
- Ideally, your speakers should be positioned so they are at the same distance from the sides of the room. The goal here is for symmetry in speaker and furniture arrangement in order to minimize the impact from sound reflections as much as possible.
- It is also best if the speakers are a different distance from the back wall than from the walls on either side.”
The ISO-155 comes equipped with the accessories and components for two speaker stands, but in today’s demonstration, we’ll be looking at setting up a single stand. In front of me, you can see all the necessary components for a single stand. Four long tubes. Four short tubes. Two pairs of inserts, one longer than the other. And the top and bottom frames which have the integrated isolators. The top is defined by the IsoAcoustics logo on its front.
There are 5 main steps to assembly.
First, choose between the short tubes or the long tubes to decide the optimal height for the speaker stand to deliver the best quality of audio. For this example, we’ll be using the short tubes.
Next, you must decide what level of tilt would be best suited for your setup. If you want to tilt up, insert either two of the short or two of the long inserts into the front tubes. If you want to tilt down, insert either two of the short or two of the long inserts into the back tubes. If no tilt is needed, the inserts will not be used. Remember, inserts come in pairs. They’re installed in pairs too so only use either both short inserts and/or both long inserts, but never only one of each. This is a rule consistent through all applications, whether tilting up or down.
In this example, we’ll be using the short inserts.
First, push the insert into the top of each tube and give it a twist till its firm.
Next, firmly press the tubes into the bottom portion of the isolator so that they are secured in place.
Finally, push the top isolator into place. You might have to apply pressure to each of the four contact points, gently but firmly for optimized use.
If your stand is not level, it means the poles are not fully inserted in the isolators. Sometimes air can get trapped inside the isolators which causes the tubes to not be seated properly. If you experience this problem, I suggest removing the top frame, then make sure the poles are seated properly in the bottom isolators. Then install the top frame again and one by one go around and apply pressure to the top and bottom isolator pushing them together.
If you want to try the stands at a different height or tilt setting, the stands can be taken apart re-assembled in a different configuration. If you have any trouble removing a tilt insert from inside one of the isolators, using needle-nose pliers is a tip which makes it very easy a tilt insert is left inside an isolator after removing a pole, the easiest way to remove the tilt insert is using needle-nose pliers.
Congratulations, you’ve completed the set up for your isolation stand! Position your speaker on top and make sure it will not slip or fall off. For more questions, head to Isoacoustics.com and be sure to browse our product guide included in your ISO-155 product box. For more information on our products and services, be sure to subscribe and ring the bell for notifications on all our new tutorials and updates on our products.”